Following my Leg Length Discrepancy (LLD) diagnosis, I set about researching corrective shoes and shoe modification. I found loads of great articles, services, and products. However, nothing I found was really compatible with my athletic and hiking goals. In the end it took a year, the right experts, six concept shoes, way too much money, and 500 miles of test hikes to create a shoe that would allow me to pursue my dream of hiking the Pacific Crest Trail (PCT). This was my shoe design journey.
Terms
Those in the footwear industry speak Greek. Well not really but it’s a different language. While educating myself on shoe modification I learned a number of new terms. Here are a few I will use frequently in this article.
- Outsole: the bottom of a shoe which makes contact with the ground
- Midsole: a layer of cushion material between the outsole and upper
- Durometer: a instrument for measuring hardness of materials such as foam (the higher the durometer the firmer the material)
- Lift: material placed underfoot on the short leg to compensate for LLD
- Full Foot Lift: a lift that elevates the entire foot
- Heel Lift: a lift that elevates the heel only
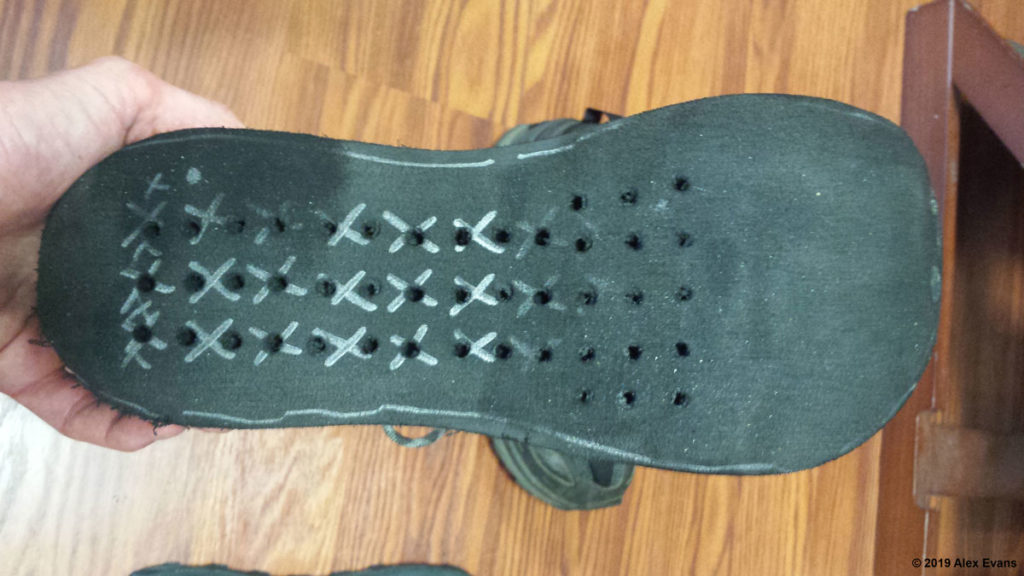
- Honeycomb: a process of drilling vertical holes through the lift material to reduce weight and increase flexibility
- Rocker: a taper of midsole thickness from approximately the ball of the foot to the toes
- EVA: Ethylene-vinyl acetate (EVA) is a foam material used for midsoles of athletic shoes
- Crepe: a foam material commonly used in the shoe repair and orthopedic industries
- Compression Set: after the repeated compression a midsole or lift material will not return to its original uncompressed thickness compression set refers to this permanent deformation
- First Metatarsal Head : ball of the foot
Getting Started
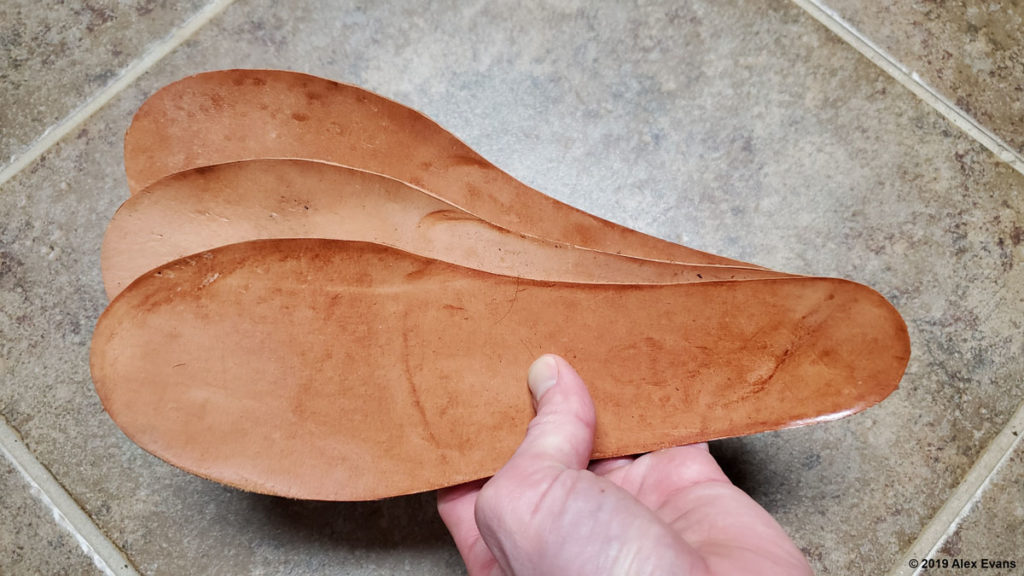
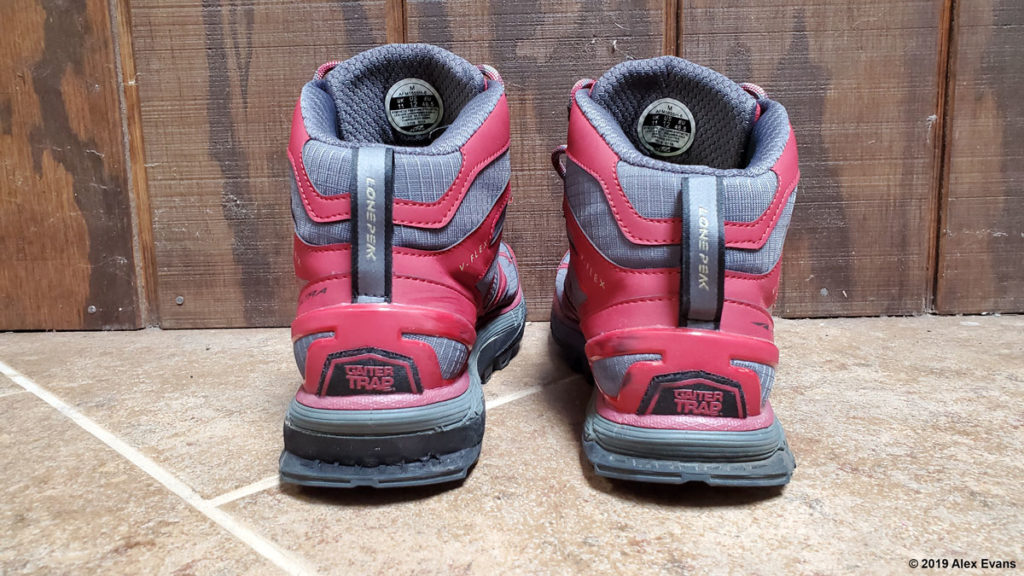
The x-rays revealed that my left leg was approximately a 1/2” shorter than my right. To accommodate this discrepancy I needed to add a 1/2” full foot lift to my left shoe. I chose a full foot lift as I personally found heel lifts uncomfortable during testing.
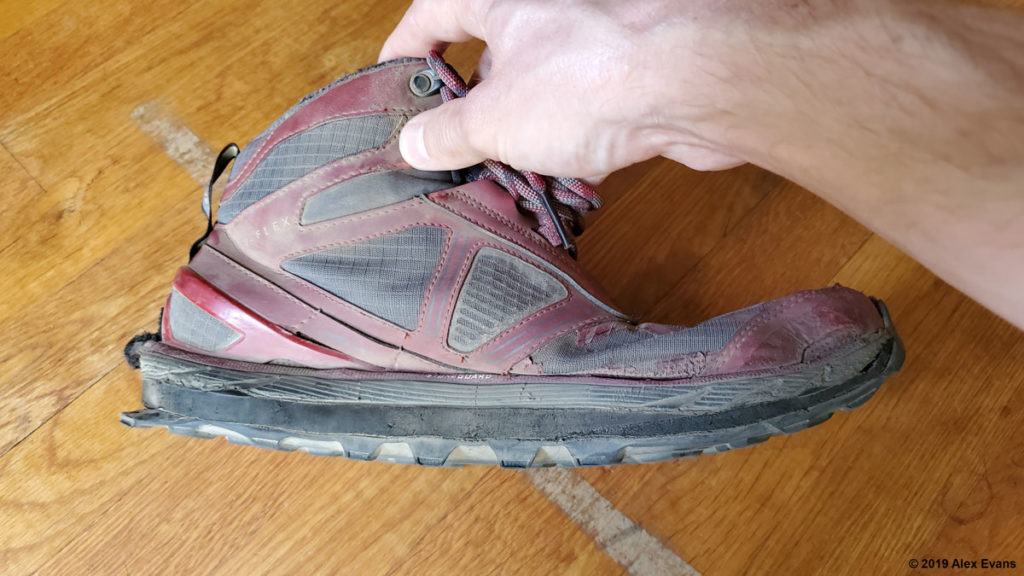
To safely acclimate to the lift I would need to make incremental adjustments. To accomplish this, I cut leather shims that were approximately 1/16” thick. The shims would be stacked under the insole in my left shoe. I spent July of 2018 making incremental adjustments. I started with an 1/8” stack and then moved to a 1/4”. This proved to be the maximum lift I could comfortably fit inside the shoe. Larger lifts would be added to the outside in the midsole.
Shoe Modification Process
In general the process for adding a lift to the midsole of a shoe is as follows:
- Split the midsole in half or seperate the outsole from the midsole.
- Insert a lift material of appropriate thickness between the halves.
- Bond the assembly together with a contact adhesive.
- Sand or trim the lift material flush with the edges of the original midsole.
Shoe Selection
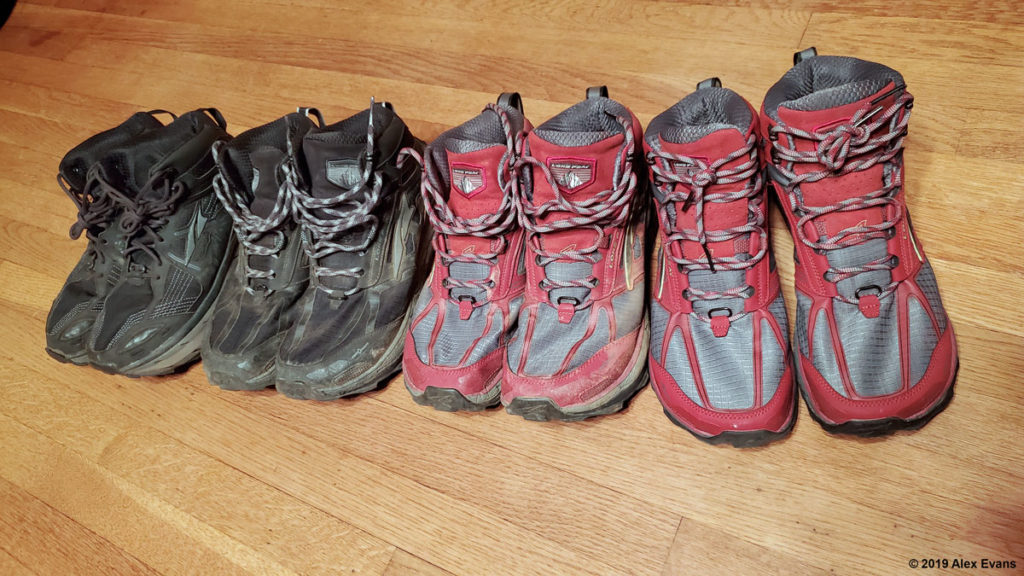
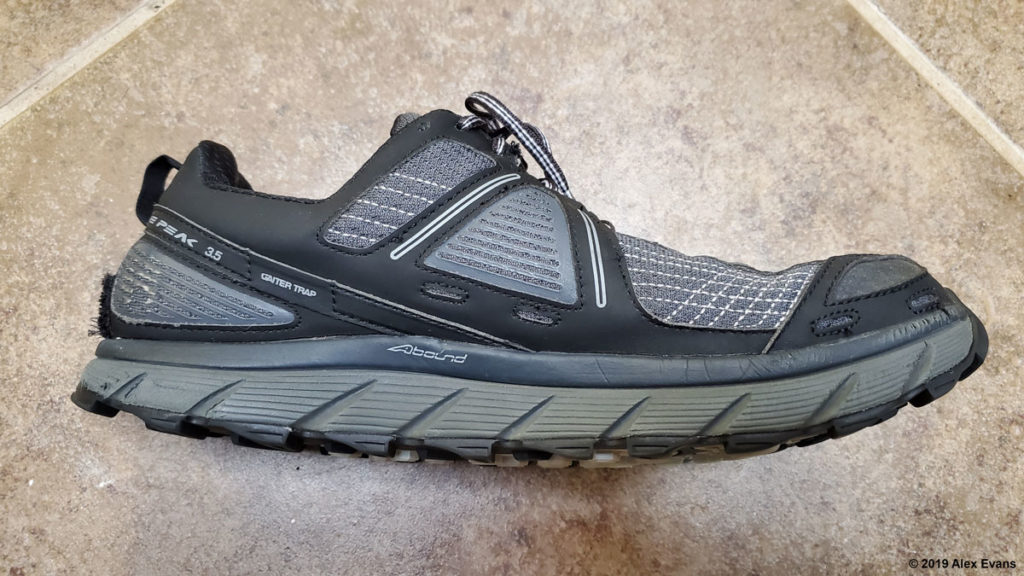
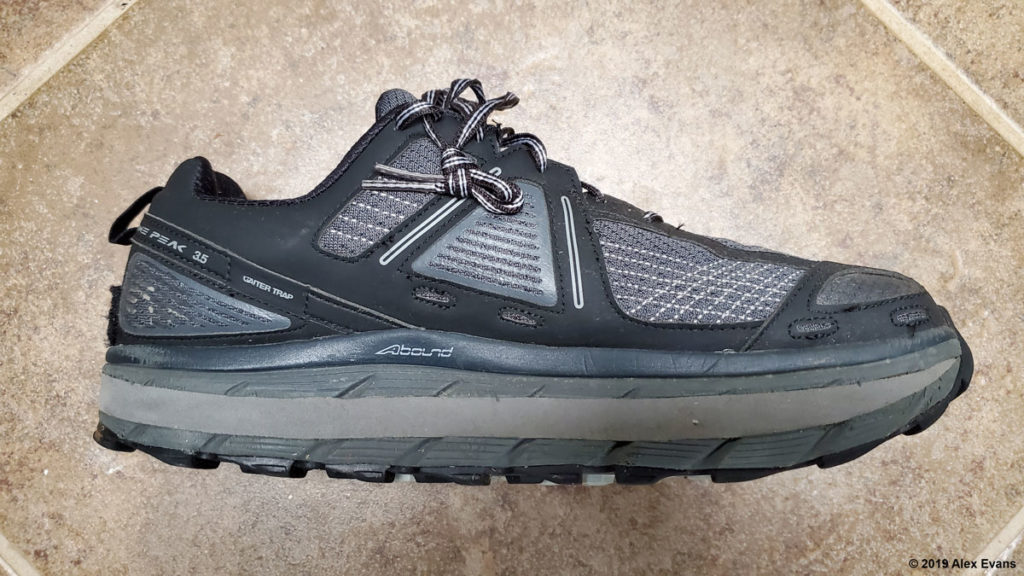
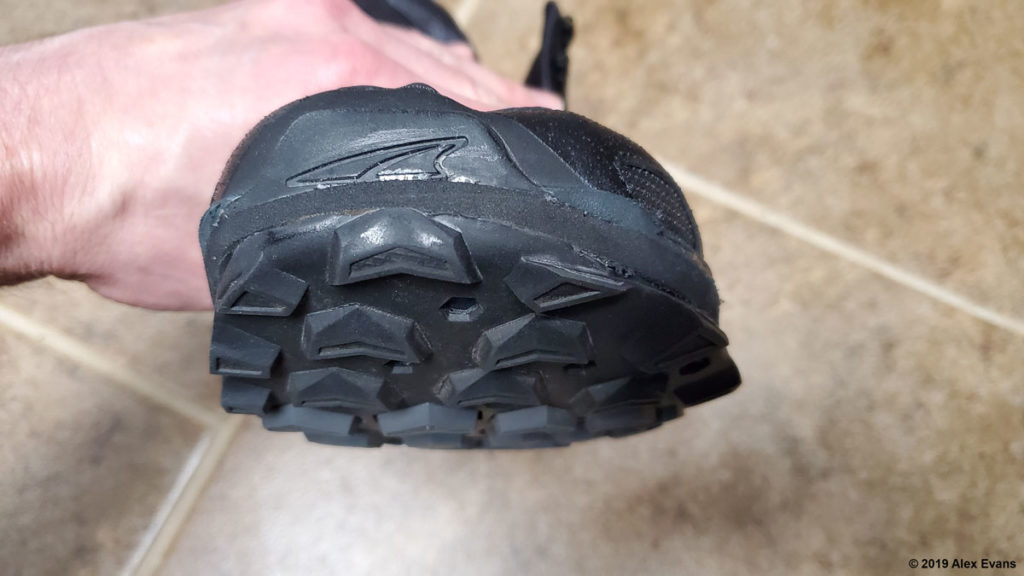
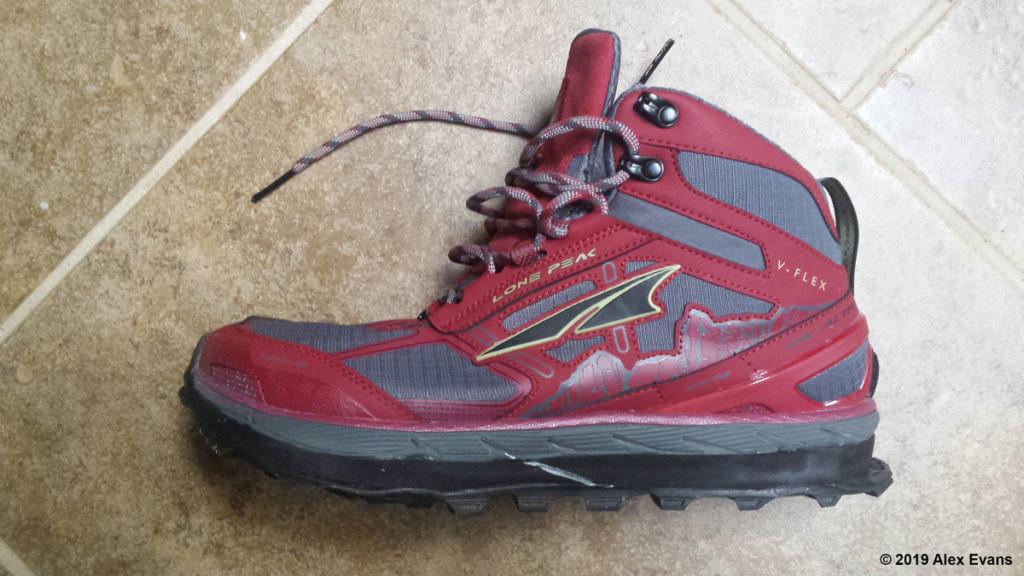
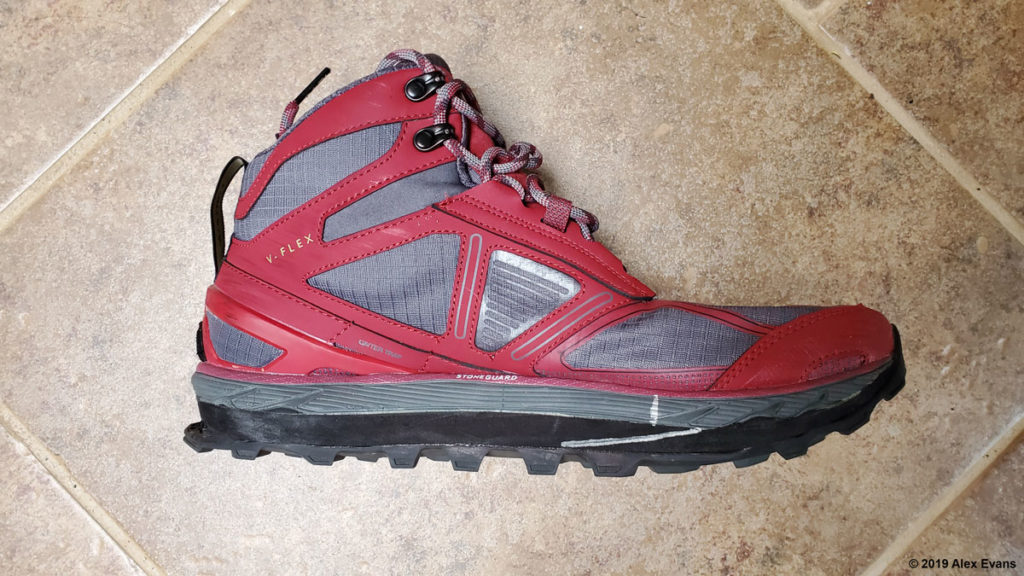
I selected the Altra Lone Peak for modification. The Lone Peak had been my go-to hiking shoe for several years and its simple midsole is devoid of any obstructions such as reinforcements or gel cushions that would interfere with modification.
Shoe Concept 1 and 2
I was excited when my initial Google search led me to a mail order company that specialized exclusively in modifying shoes to accommodate LLD. I employed their services to create my first two concept shoes. Unfortunately, despite the use of honeycombing the modified shoes were far too stiff and caused significant heel slip. In addition, the rocker shape seemed too abrupt. This eliminated any ground feel at the toes thus creating a sensation similar to stepping off a curb with each stride. I sent the shoes back for several revisions with little improvement. In late September of 2018, after a month of trial and error, I went back to the drawing board. I needed to educate myself on shoe modification and find a cobbler with more experience building shoes for athletes.
Lessons Learned
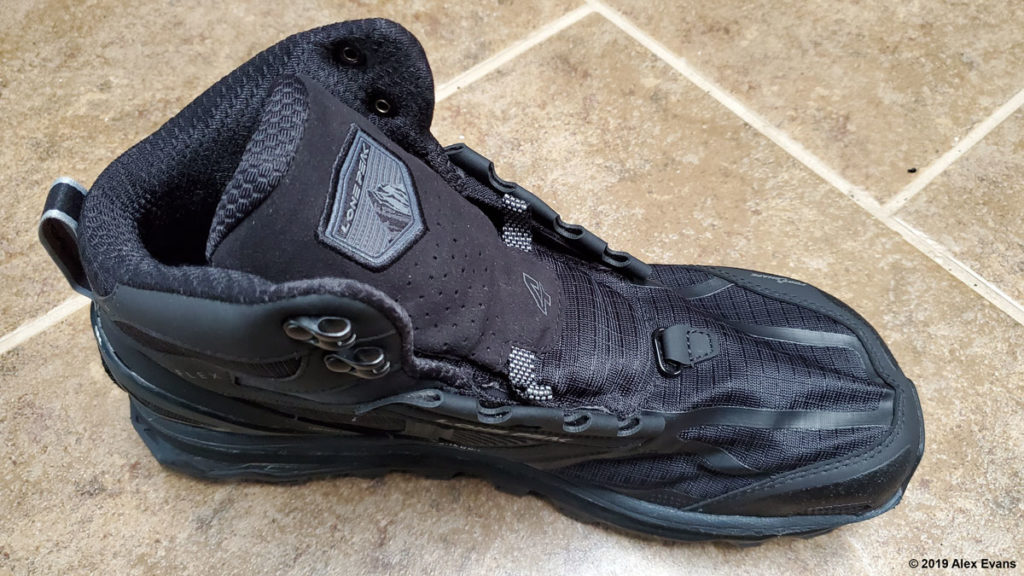
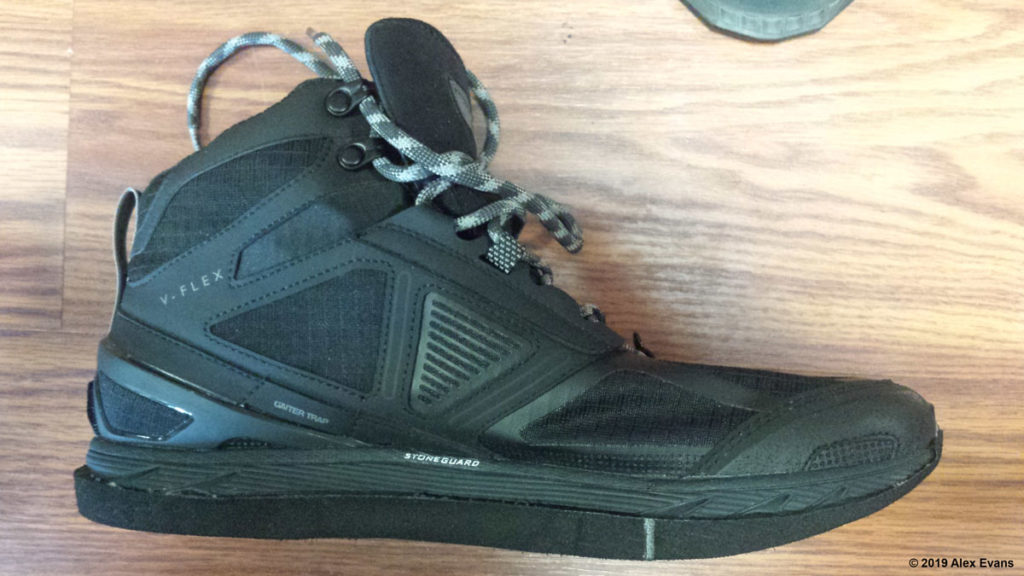
- The mid height shoe seemed better suited to modification because the additional lacing helped control the heel slip created by the lift’s stiffness.
- Rocker shape is important.

Shoe Concept 3
In preparation for creating shoe concept 3, I completed extensive research. I studied shoe modification materials and techniques. I spoke to cobblers, orthotists, prosthetists, orthopedics, podiatrists, trainers, running shoe stores, raw material manufacturers, and shoe manufacturers. It increasingly seemed my athletic and hiking aspirations were incompatible with existing solutions.
Finally, in late October, I located a skilled cobbler with extensive experience creating shoes for athletes with LLD. Over the course of several lengthy phone calls and emails we discussed my needs, the problems with the previous shoes, and all aspects of the new shoe’s design. Confident in his expertise, I mailed off a new pair of shoes and waited.
A month passed and finally one day they arrived. I excitedly opened the box, unwrapped the shoes, and was utterly dismayed by the disaster I held in my hand. They had ignored all of my criteria and their poor workmanship rendered the shoes unwearable. I delivered a colorful bouquet expletives to the shoes and wrote them off as a lesson learned. Alas, my search for help continued.
Lessons Learned
- Shoe modification can go very wrong.

Shoe Concept 4
In December my search finally payed off. Through a series of phone conversations I discovered pedorthists. A pedorthist is a specialist trained in footwear modification. Both the Pedorthic Footcare Association and American Board for Certification in Orthotics, Prosthetics & Pedorthics maintain searchable directories of accredited pedorthists. I vetted several pedorthists and finally made an appointment with Foot Solutions corporate office and laboratory. Like the previous cobblers I had worked with, the team at Foot Solutions had no experience building LLD shoes for long distance hiking. However, they were eager to try new ideas and collaborate with me to find a solution.
The appointment was truly a collaborative effort. We began with an in depth discussion of my goals, the problems with my previous shoes, modification techniques, and lift materials. We then set about planning my new shoes. To achieve equal flexibility between the original and modified shoe we sought to match the firmness of the lift material to the original midsole. We measured the midsole of my Altra Lone Peak with a shore A durometer. The durometer read 41. Based on this measurement we selected a 45 durometer EVA for the lift. To insure the rocker originated in the correct location we marked the position of my first metatarsal head on the midsole. By the appointment’s end I was cautiously optimistic the new shoes would be a step in the right direction.
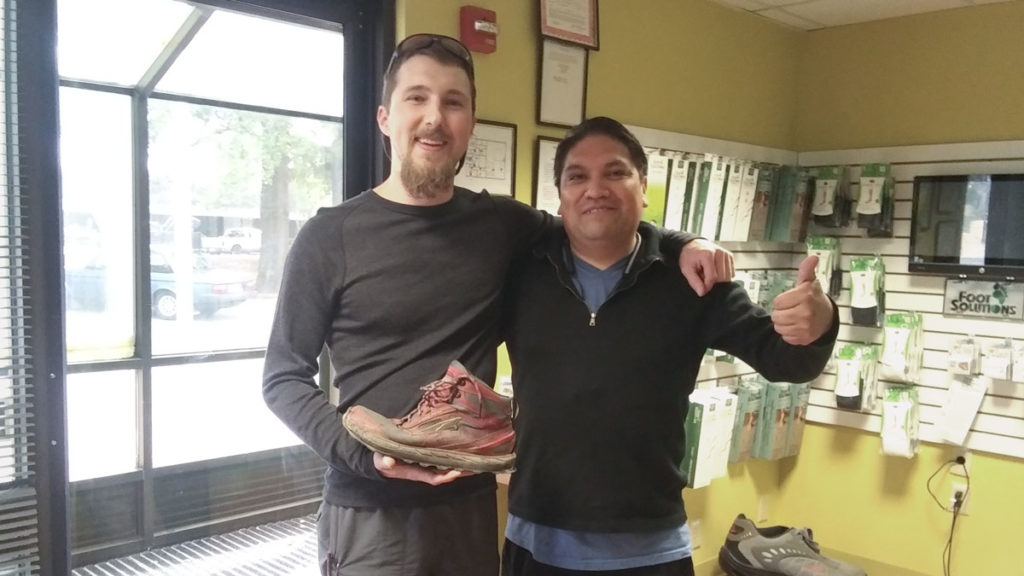
A couple of weeks passed and I got the call that my shoes were ready. I met with Juan, the shoe modification guru, for the final fitting. This was conducted with outsole separated from the shoe to allow adjustments to the already adhered lift material. We determined that beginning the rocker directly under the first metatarsal head was altering my stride and the origin needed to move rearward. Several trips to the belt sander and the adjustment was done. With the shoes completely assembled we test fitted them once more. The results were amazing. It almost felt as if the shoes hadn’t been modified. I was overjoyed! We exchanged a near tearful bear hug and I was off to the trail for a test hike.
The shoes proved very comfortable over 250 miles worth of training hikes but there was room for improvement. The softer EVA proved too susceptible to compression set under the heel.
Lessons Learned
- A gradual rocker works best.
- The rocker’s origin in relation to my first metatarsal head is critical.
- 45 durometer EVA is too susceptible to compression set under the heel
Shoe Concept 5
In spring of 2019 I met with the team at Foot Solutions to discuss the shortcomings of concept 4 and possible solutions. Juan proposed and built a dual durometer design. This utilized a soft 45 durometer EVA from the midfoot forward for flexibility and a firm 65 durometer EVA under the heel to resist compression set. This concept also dispensed with honeycombing. The design proved durable during test hikes. My PCT start date was looming but I felt we were finally getting close to a trail-ready shoe design.
Lessons Learned
- Dual durometer design offers good blend between flexibility and support
- The transition from the firm to soft lift material was too far rearward. Once the soft material under the forefoot collapsed the transition might become noticeable and lead to an altered stride.
Shoe Concept 6
The concept 6 shoes were very similar to the concept 5 shoes. However, the transition from the firm to soft lift material was moved forward directly under the metatarsal heads. This was done to make the area under the midfoot more resistant to compression set. These were also my first size 12. My feet had flattened in the course of all the training and I gained a ½ shoe size.
Completion of the shoes came down to the wire. It was late June. I picked up two identical pairs from Foot Solutions just days before I left for the PCT. I was starting my first long distance hike in untested shoes and that was a little scary.
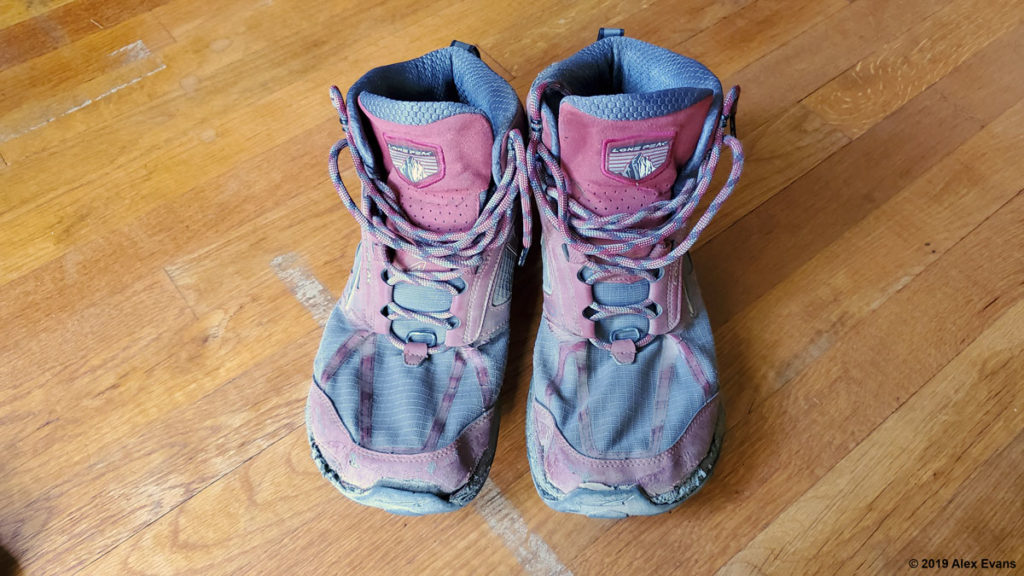
In the end it all worked out. The first pair of shoes lasted 600 miles through all of Washington and a section of the Sierra. They took a beating in the talus fields but exhibited minimal compression set. The second pair carried me through the rest of the hike and are still going. We had done it! We built a shoe that empowered me to realize my PCT hiking dream. Thank you to Juan, Montine, Krin, Suzan, Dawson, and the rest of the staff at Foot Solutions. I couldn’t have done it without you.
Lessons Learned
- 65 durometer EVA is durable but will exhibit some compression set at 600 miles
What’s Next?
My quest for the ideal LLD shoe is not over. I am always researching new lift materials and modification techniques. I continue to work with the team at Foot Solutions to build and test new shoes. Stay tuned for updates.
You can learn more about Foot Solutions corporate office and laboratory at their website.
2022 Update: The awesome team from the Foot Solutions corporate office and laboratory can now be found at Shu-re-nu.